DIY Wainscoting for Beginners
Hello, hello, hello! I’ve had so many requests on where on earth to begin with installing wall moulding — so here I am, eager and happy to share my favourite tips, tricks and tools I use to ensure a stress free application. By no means are we professional millworkers, all opinions listed are my own.
My #1 motto, there’s never any gatekeeping over here. If you have questions, ask me! I’m more than happy to help you with your project. And if you need even more guidance, check out my design services & let’s work together!
So…you’re here because you want to tackle adding wainscoting to your space right? Fantastic! I promise it is no where near as intimidating as it looks. Not only can it be cost-effective, it is also one of the most effective ways to make your home look better & boost property value.
Okay, let’s dive right in using our recently completed office as a reference. I’ve compiled a list on my LTK of everything you’re going to need to complete this project (American and Canadian links).
CHECKLIST
Painters tape
Measuring tape
Level
Miter shears
Miter box + saw
Brad nailer [if you don’t own a brad nailer you can rent one from Home Depot. That’s exactly what we do to keep costs down]
Brad nails [1 1/4 - 1 1/2 inch work best]
Wood filler
Baby wipes
Caulk
Caulk Gun
A few stray pieces of wood you can cut to use as your guide
And of course, the trim you’ve selected!
STEP ONE
Explore Pinterest, Instagram, or your favourite sources for inspiration, and consider the design you want to use in your space.You’ll also want to choose a profile that complements your home’s architecture. Once you have an idea of what you’re wanting, grab some painters tape and test the layout on your walls. This does not need to be perfect, but it is the best way for you to visualize how it will look in your space before spending money on trim.

TIP
Take into account of where your light fixtures and plugs are located. If you do not have the funds to relocate them, you’ll need to come up with a solution on how you’d like to run your wainscoting around them.
STEP TWO
Measure your room & calculate how much trim you’re going to need, keep this in a notebook and don’t forget to bring it with you when you go shopping. Trim can be sold individually or by the foot and you do not want to end up in the middle of Home Depot making a costly mistake.
STEP THREE
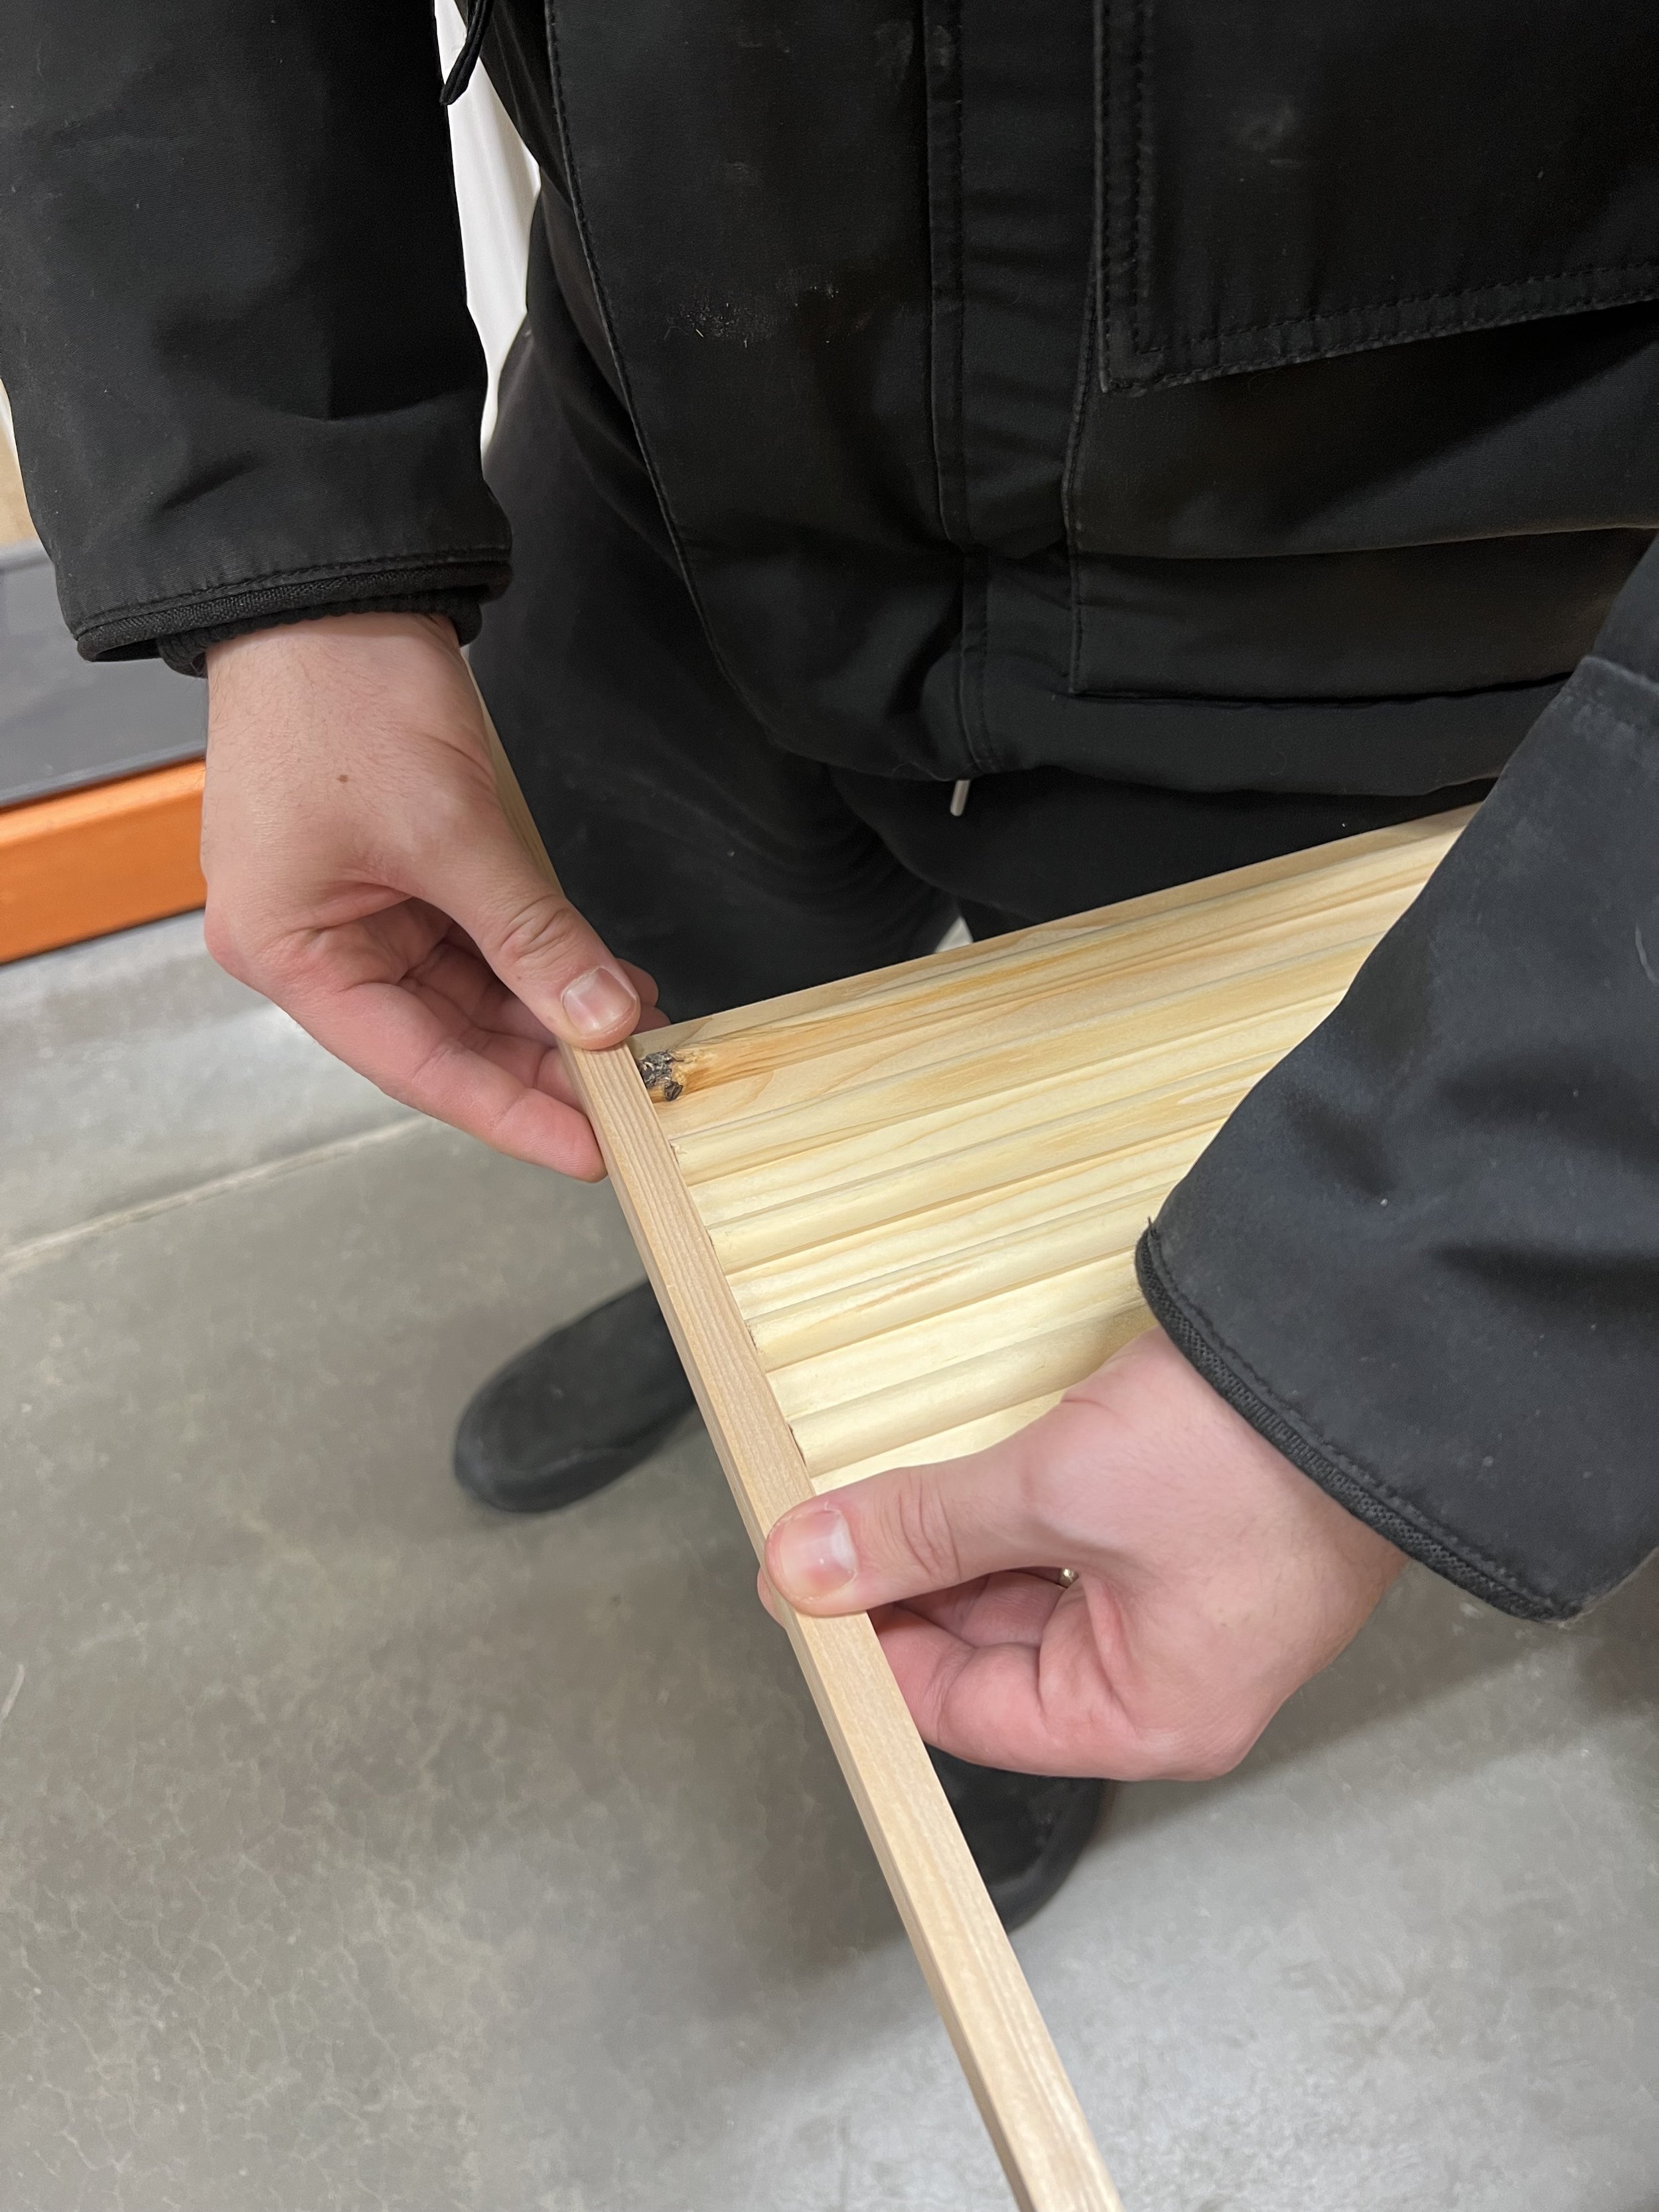
The fun part…trim shopping! My favourite place to shop for trim is Home Depot. Dedicate some time to spend in that aisle as you will be there for a while. Grab a flat cart and start pulling trim pieces that work within your budget and with what you’ve envisioned. Place them down on your cart and see if they work together like this:
Once you’ve committed, run your calculations and buy accordingly.
TIP
We’ve needed to run back to the hardware store more times than I can count during a project. When you’ve selected your trim, pull it up on the Home Depot website and make sure that other locations have the item in stock. Miscalculations happen and when they do it’s better to be prepared and not have to wait around for weeks waiting for a restock. For peace of mind, knowing if you’ve cleared out your local store and other nearby ones have it in stock will save you.
STEP FOUR
Get to work! First, start by organizing your workspace. You’ll be able to function much better by only having the tools you need out. Get two pieces of wood, any pieces, and cut them down to the size of your gaps.
These will be your guide pieces.

For reference in our office, all of our boxes were spaced 4” from the wall and 4” from each other, therefore our guide pieces were 4”.
STEP FIVE
Measure and cut your first piece of trim at a 45° angle using your miter shears or miter box (it is your preference):
Then, use your two guide pieces to nail in the trim:
You’ll then take your guide piece and run it along everywhere you need to add in a brad nail. Once your first piece of trim is secure, run your leveller under it and ensure it is fully levelled. Repeat this process, and keep chipping away piece by piece:
*POPULAR QUESTION* Do I need to use glue? Construction adhesive? Short answer, no, nails work just fine. We’ve used glue in the past, and not only has it proven to be an unnecessary step - it can actually wreck your drywall if you decide to change things up or if you’ve make a mistake (happens!). Nails are our preferred method of installation as they provide a more secure hold and are less likely to come loose over time.
STEP SIX
Step back and admire your beautiful work, YOU’RE HALFWAY THERE! Grab yourself a snack and take a break, it’s essential for keeping this a stress free process.
STEP SEVEN
Filling in those dreaded nail holes. But wait — I’ve found a way to make this easier that DOESN’T require any sanding…wait for it…baby wipes. Place a little bit of wood filler on your finger tip, press it into the nail hole and use a baby wipe to wipe off the excess product. Voila, sand free mess.
STEP EIGHT
Caulking. Grab your caulk gun, and you guessed it, your baby wipes. Glide your caulk along the seams and follow behind with your wipe for a smooth application. Caulking is absolutely essential to create that crisp clean look.
STEP NINE
Paint! Use a fine tip brush to really get into those crevices, and then fill in the rest with a roller.
STEP TEN
You did it, and I am so proud of you friend. You transformed your space, YOU DID!
I hope you found this to be helpful. Thank you for being here, and please feel free to share & follow www.instagram.com/reunioninteriors/
